I love cheese, so it's no surprise that the first recipe I decided that I had to make, even before I bought the book, was for fresh cheese, or paneer. Paneer, often called homemade cheese or cottage cheese in the ingredient lists on the boxes of ready-to-eat Indian foods, is the chunky, fresh cheese that I save for my last bite when I eat Palak Paneer, Matar Paneer, Paneer Butter Masala, or so many other paneer meals that I find at the Indian grocery store. According to this recipe, all I needed to make paneer was a half gallon of milk, cheesecloth, and a bit of white vinegar. And, while making paneer takes 5 to 7 hours from start to finish, it only requires about an hour of actual work in the kitchen. As soon as I was back in Austin, I got my ingredients and chose a day when I could schedule my activities around cheese making.
Making cheese from scratch was satisfying. Standing over a pot of steaming, sweet, nutritious-smelling whole milk reminded me of my first cooking job in a small kitchen in Salem, Oregon, where I learned to make milk-based sauces from scratch. As I stirred the warming milk, I decided that one of my next projects would be to make mac and cheese with a homemade cheese sauce. Once the milk was boiling, I began stirring in the vinegar, and panicked briefly when nothing much happened. As I continued to add vinegar, though, a yellowish liquid formed on the top of the milk, and within seconds, sticky, white clumps of curd began separating from the clearish whey. The science teacher in me could have looked to chemistry to explain the transformation, could have thought in terms of the acidic vinegar and its effect on the suspension of biomolecules of milk, but I was too busy being impressed by the fact that my milk was turning into cheese, just like that, just like magic, at the tip of my spatula.
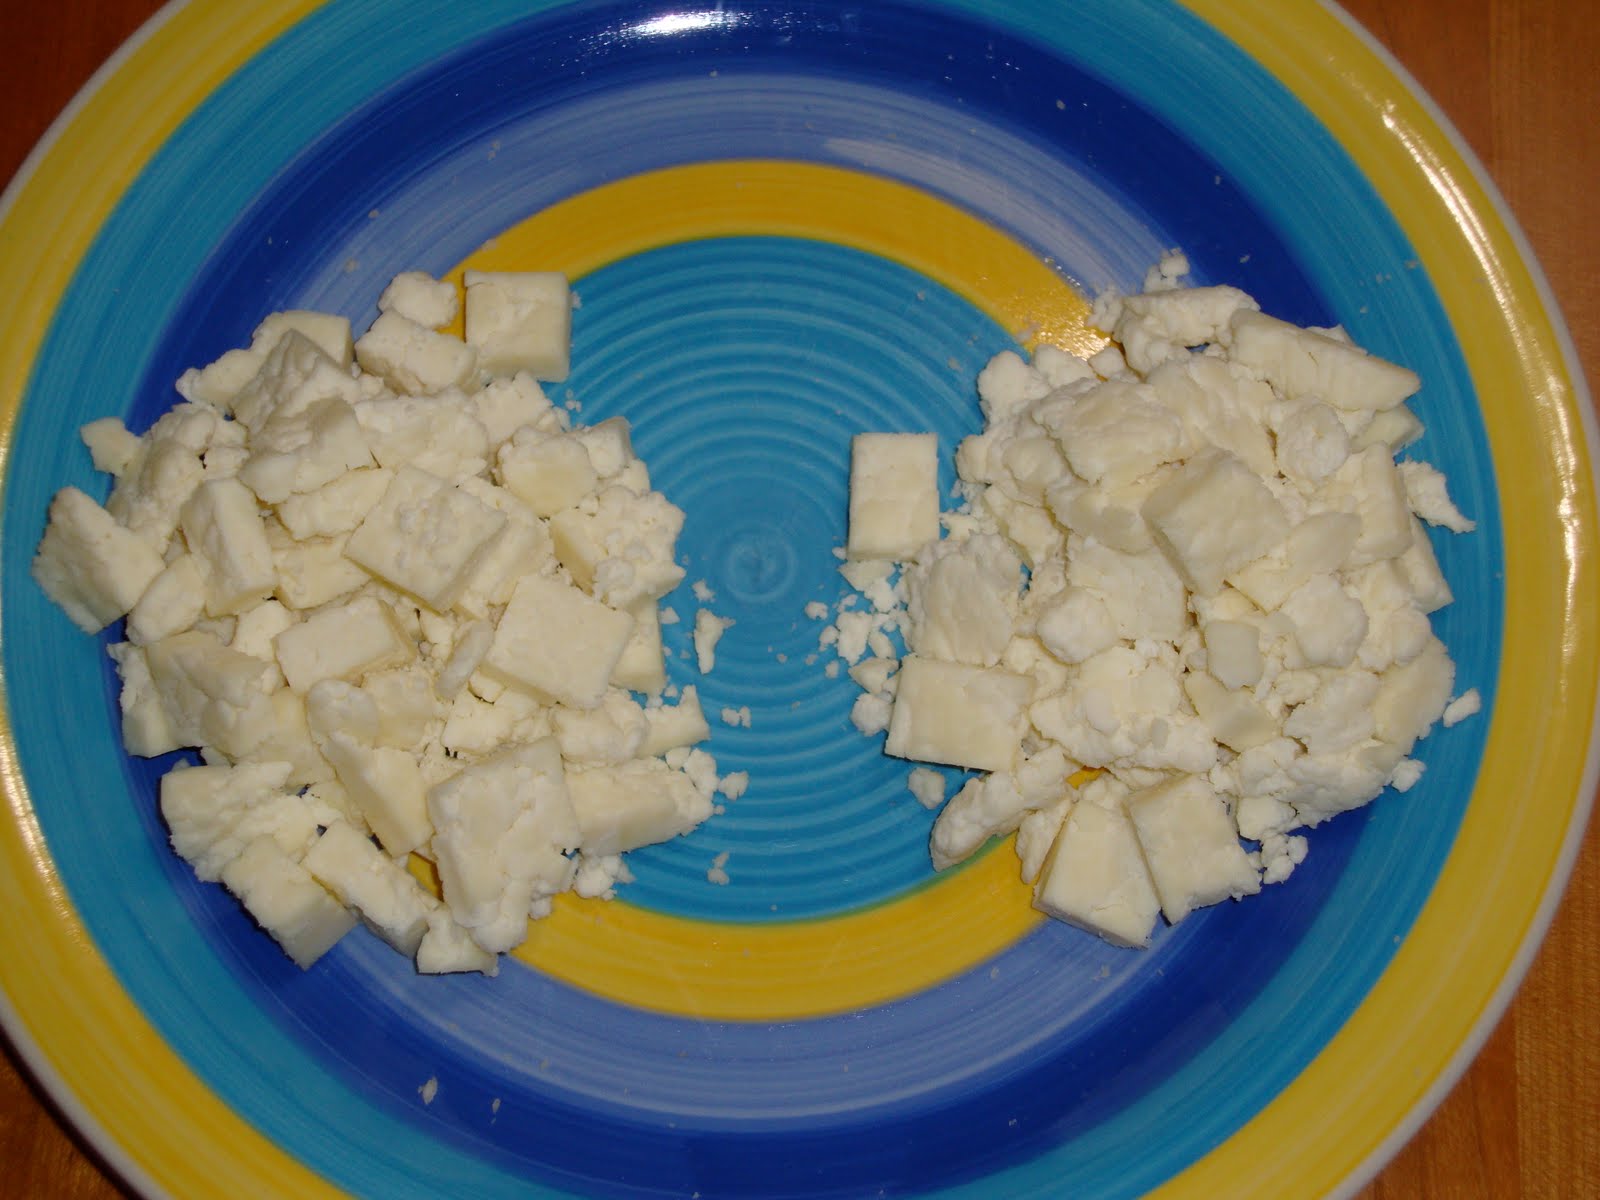
Cheese lover that I am, it's about time that I understand what is really meant by the phrase, "separate the curds from the whey." Now I know. I also have a new appreciation for the price of cheese, given that it takes a half gallon of milk to make two cups of cheese. Cheap cheese must be made from cheap milk, which invariably comes from unhappy cows. Which is not good news, given my cheap sharp-cheddar habit. It may be time to reevaluate my cheese buying. In the meantime, here's a recipe for delicious, homemade cheese made from milk from happy, grass-fed Texas cows.
Fresh Paneer
Adapted from New Indian Home Cooking by Madhu Gadia.
This recipe makes about two cups of paneer, which didn't seem like much compared to the half gallon of milk that it required. However, I was able make a full batch of Matar Paneer (Pea and Cheese Curry) using just one cup of paneer. That batch of Matar Paneer was dinner for two on Thursday and lunch for two on Saturday, and I still have the other cup of paneer to use in another recipe.
Though the recipe didn't specify, I have read that making cheese requires milk that has not been ultra-pasteurized. I used whole milk from Way Back When Dairy, where milk is low-temperature pasteurized, non-homogenized, and produced by grass-fed cows, and it made delicious fresh cheese.
Plan ahead on the timing! To make paneer for tonight's dinner, start the process at 10 or 11 am. It takes about a half hour to make the curds, then the curds drip for another half hour. It only takes a few minutes to crumble and shape the curds into a block, but then the block of cheese is pressed into shape for 4 to 6 hours before it is ready. Only then are the kitchen counter and cutting board (used to press the cheese) available for dinner prep.
8 cups of whole milk (1/2 gallon)
8 teaspoons of white vinegar
2 tablespoons of water
cheesecloth
Mix the vinegar and water in a small bowl and set aside. Line a colander with two layers of cheesecloth and set the colander into your sink or in a large bowl.
Heat the milk in a large saucepan over medium-high heat, stirring frequently to avoid scorching the milk. When the milk comes to a full boil, reduce the heat to a simmer. Gradually add the vinegar mixture to the boiling milk and stir gently. Simmer as the curds separate from the whey. All the curds are separated from the whey when the whey is greenish yellow. Remove from the heat.
Pour the curds and whey through the cheesecloth-lined colander. Discard the whey. Rinse the curds with about 2 cups of cold water. Gather the cheesecloth so the curds are in the center and tie to enclose. Hand the curds over your sink or a bowl to allow the excess liquid to drip for at least 30 minutes. [Note: I left the curds hanging for over two hours and that was too long because the curds took on their hanging shape and were harder to form into a block later.]
Place the curds on a clean surface and mix with your hands until the curds become crumbly. Gather together in a ball and pat into a rectangular shape about 1/2 inch thick. Place it back in cheesecloth and wrap. Place between two thick stacks of paper towels and set it on a flat surface. [Next time I'm going to try using washable towels because this felt like a wasteful use of paper towels.] Set a cutting board on top. Put a heavy (about 15 pounds) object on top of the cutting board to flatten the cheese. Let it rest for 4 to 6 hours. Unwrap the cheese and cut it into 1/2 inch squares. Refrigerate for up to 2 days of freeze for later use.
Thanks For sharing useful information. IF you are seeking for buying Paneer Plant at affordable rates then visit our company NK Dairy Equipment at Haryana.
ReplyDeleteGreat recipe...thanks for sharing. I tired it few weeks back it came out really great. My hubby liked it the most, this one surely goes to my favorite recipes :) Paneer Manufacturing Process
ReplyDeleteThanks for sharing an information like this keep touch with us
ReplyDeletePaneer Processing Business
This comment has been removed by the author.
ReplyDeleteMahavir Industries is a premier Paneer Plant Manufacturer specializing in high-quality, efficient equipment for paneer production. With our cutting-edge technology and reliable solutions, Mahavir Industries ensures superior performance and consistency for your dairy processing needs.
ReplyDeleteEdinburgh Removals Company offers top-tier House Removals services in Edinburgh, ensuring a smooth and worry-free moving experience. Our professional team handles every aspect of your move, from packing and loading to transportation and unloading. With extensive experience and attention to detail, we guarantee the safe handling and delivery of your belongings. We provide flexible scheduling to fit your specific needs and competitive pricing to match your budget. Our commitment to customer satisfaction ensures that your moving day is as stress-free as possible. Trust Edinburgh Removals Company for reliable, efficient, and professional house removals in Edinburgh. Your seamless move is our priority.
ReplyDeletehttps://eh1-edinburghremovals.co.uk/house-removals-in-edinburgh/